Product tour
Follow one repair job from first call to final invoice
See how the main parts of Mecmetrix work together. This public walkthrough uses illustrative examples and needs no account.
Illustrative walkthrough. No customer or workshop data is shown.
-
01
Keep the customer and vehicle history together
Find the customer, vehicle, and previous work in one place when a new request arrives.
Explore Client management
-
02
Prepare an estimate before work begins
List the work and parts, share the estimated cost, and move an accepted estimate into the repair workflow.
Explore Estimates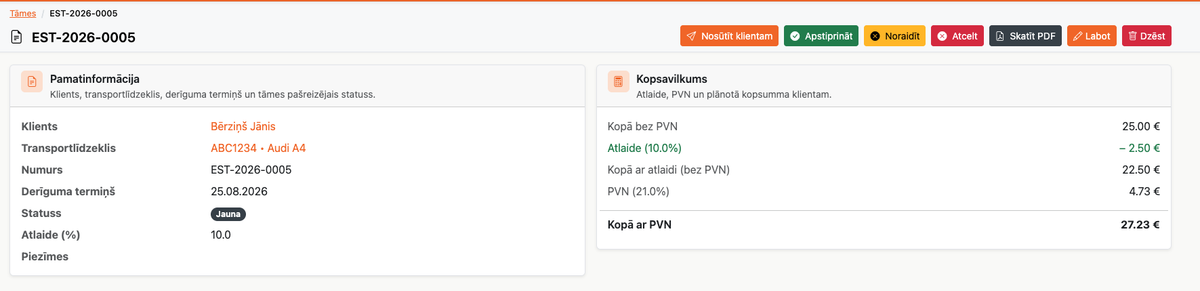
-
03
Reserve a bay and plan the day
Put the job on the calendar so the team can see when a vehicle is expected and which bay is available.
Bay schedule See planned work and available space. -
04
Follow the repair as it progresses
Keep tasks, assigned staff, parts, and the job status on the same worksheet instead of scattered notes and messages.
Explore Worksheets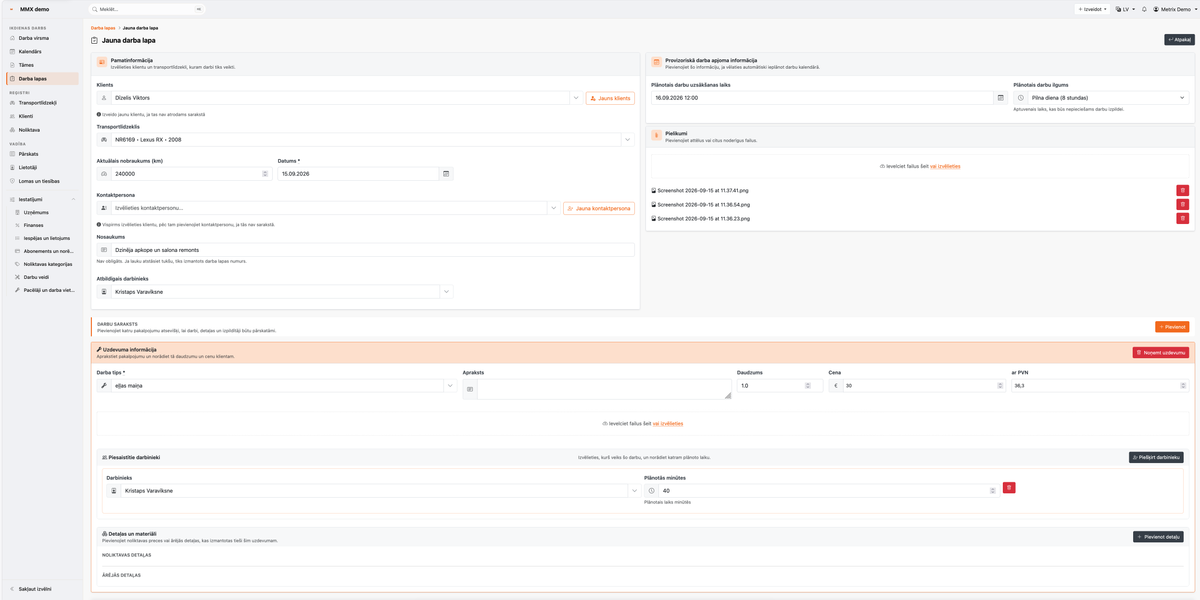
-
05
Account for parts used on the job
Link stocked or externally sourced parts to the work and see what remains available for the next repair.
Explore Warehouse
-
06
Finish with an invoice and a clearer overview
Turn completed work into an invoice and review the workshop's financial picture without rebuilding it from separate files.
Explore Financial overview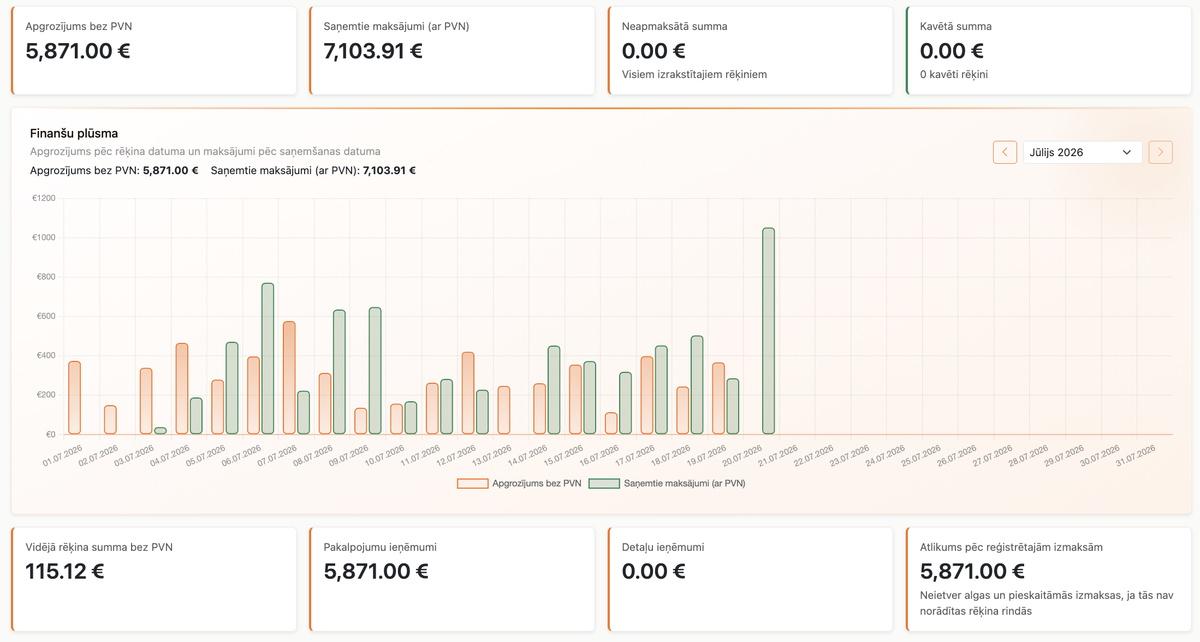
Explore every capability
Open a feature page for details. Screenshots appear there as they are added.
See how it fits your workshop
Start with a trial, or tell us how your shop works and we will walk through the relevant steps with you.